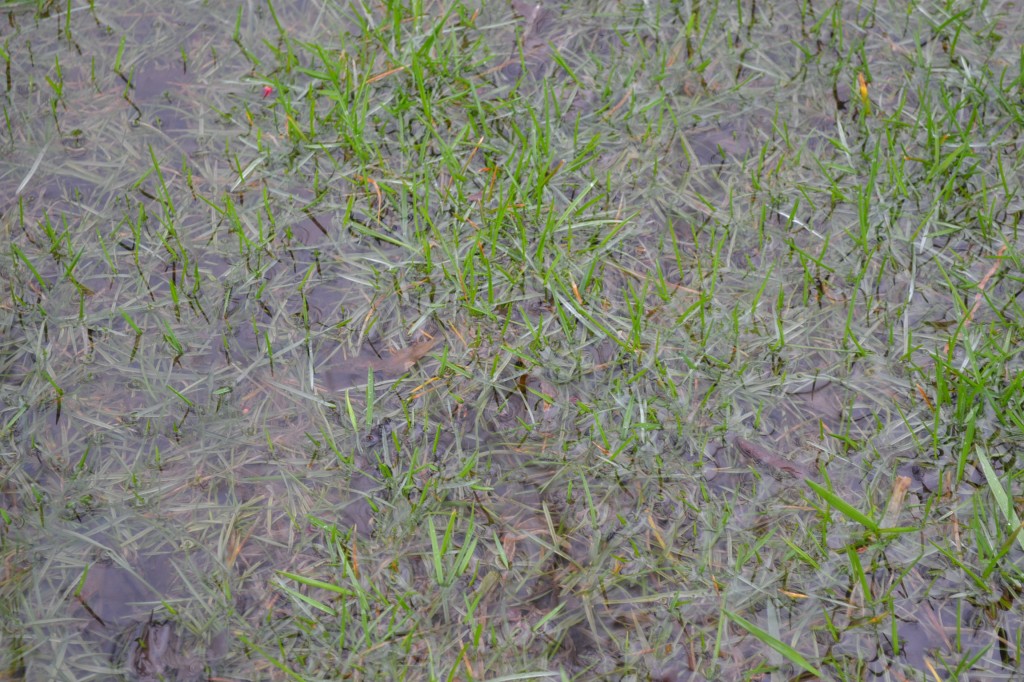
Rain garden installation in your home landscape is fairly easy. First you will need to determine which way the water from your property drains. This can be determined by an obvious visual inspection or through the use of a transit level in other instances. Drains from down spouts can be tiled into the rain garden as well. If you have soil erosion issues, you may want to consider installing a rain garden in your property. Generally most of the eroded areas will not sustain soil or plant material because of the erosion. If you want to make these areas usable and eye appealing, then a rain garden may be a solution to your problem.
How to build a rain garden.
- Determine where the water in your yard flows.
- Determine if there is water entering your property from neighboring properties or street run off that you can control.
- Determine the average amount of water flow to proposed rain garden area. Once a good determination is made, you can now determine the size of rain garden. It is important to build a rain garden that is large enough to handle heavy rains as well as small and moderate rains.
- Mark out your proposed rain garden area with marking paint.
- Start to excavate your site to the specifications needed to properly manage the water flow. Generally most small rain gardens will be about 6″ to 12″ below the ground level to serve as a holding area.
- Make sure that you remove several feet of soil below the desired area and amend it to the proper consistency. If you do not have the right composition of soil, it will not drain the rain garden properly and you will have standing water. Standing water may encourage mosquitos or it may resonate an undesirable smell. If you have standing water in your garden it may also kill off your plant material.
- Once your soil is amended, return it to the garden and finish grading it out.
- Install plant material that is suitable for the location and enjoy.

