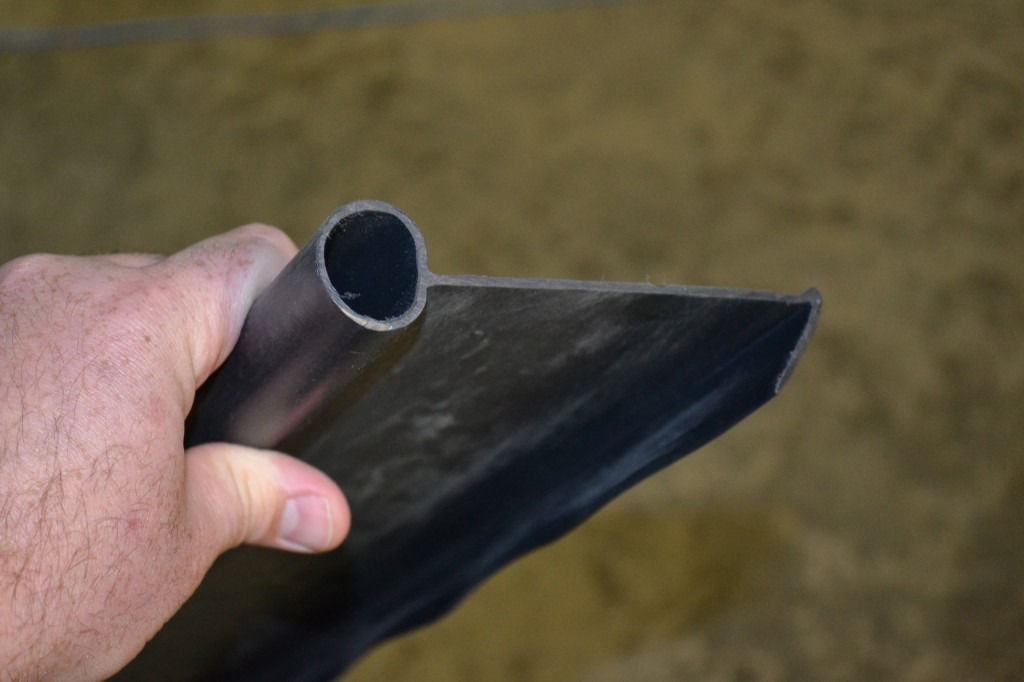
Once you have your trench dug, lay your plastic edging in the hole with the flat part of the plastic edging lying against your outer side. Your material should be setting at an angle in the trench. Make sure that the “tube” part of the plastic edging is lying at the dirt level of your lawn. If you set the material too high, it will not last. If you set the material too low, it will not work. Once you have your material in place, secure it with five stakes. These stakes should be hammered in at an angle (the same direction as your edging is lying).
Link your plastic edging.
To link your next piece of plastic edging, you will want to use the link that comes with the product. To reduce the chances of the link splitting, you will want to cut six inches of your “tube” off of the piece of material that you are about to install. Do not cut off the flat portion of the plastic edging, just the “tube”. Make sure that your cut is clean so that it looks as close to the factory cut as possible. Now you have created a six-inch overlay for your edging. Insert your link half way between the already installed edging and the other half in the piece that you just cut. Push the two pieces together to complete your edge. Now you can put a stake between both pieces of edging because of your over lay. This will help keep your edging from pulling apart.
Continue this process until your entire project is completed. Once all of your edging is installed, back fill the remainder of the hole with the dirt that you displaced. Push the dirt in tight or tamp the dirt with a hand tamper to remove any air pockets. Having the dirt sit on top of the edging instead of having the edging between the dirt will reduce heaving caused by frost. If your edging is installed correctly, it should last many years.

