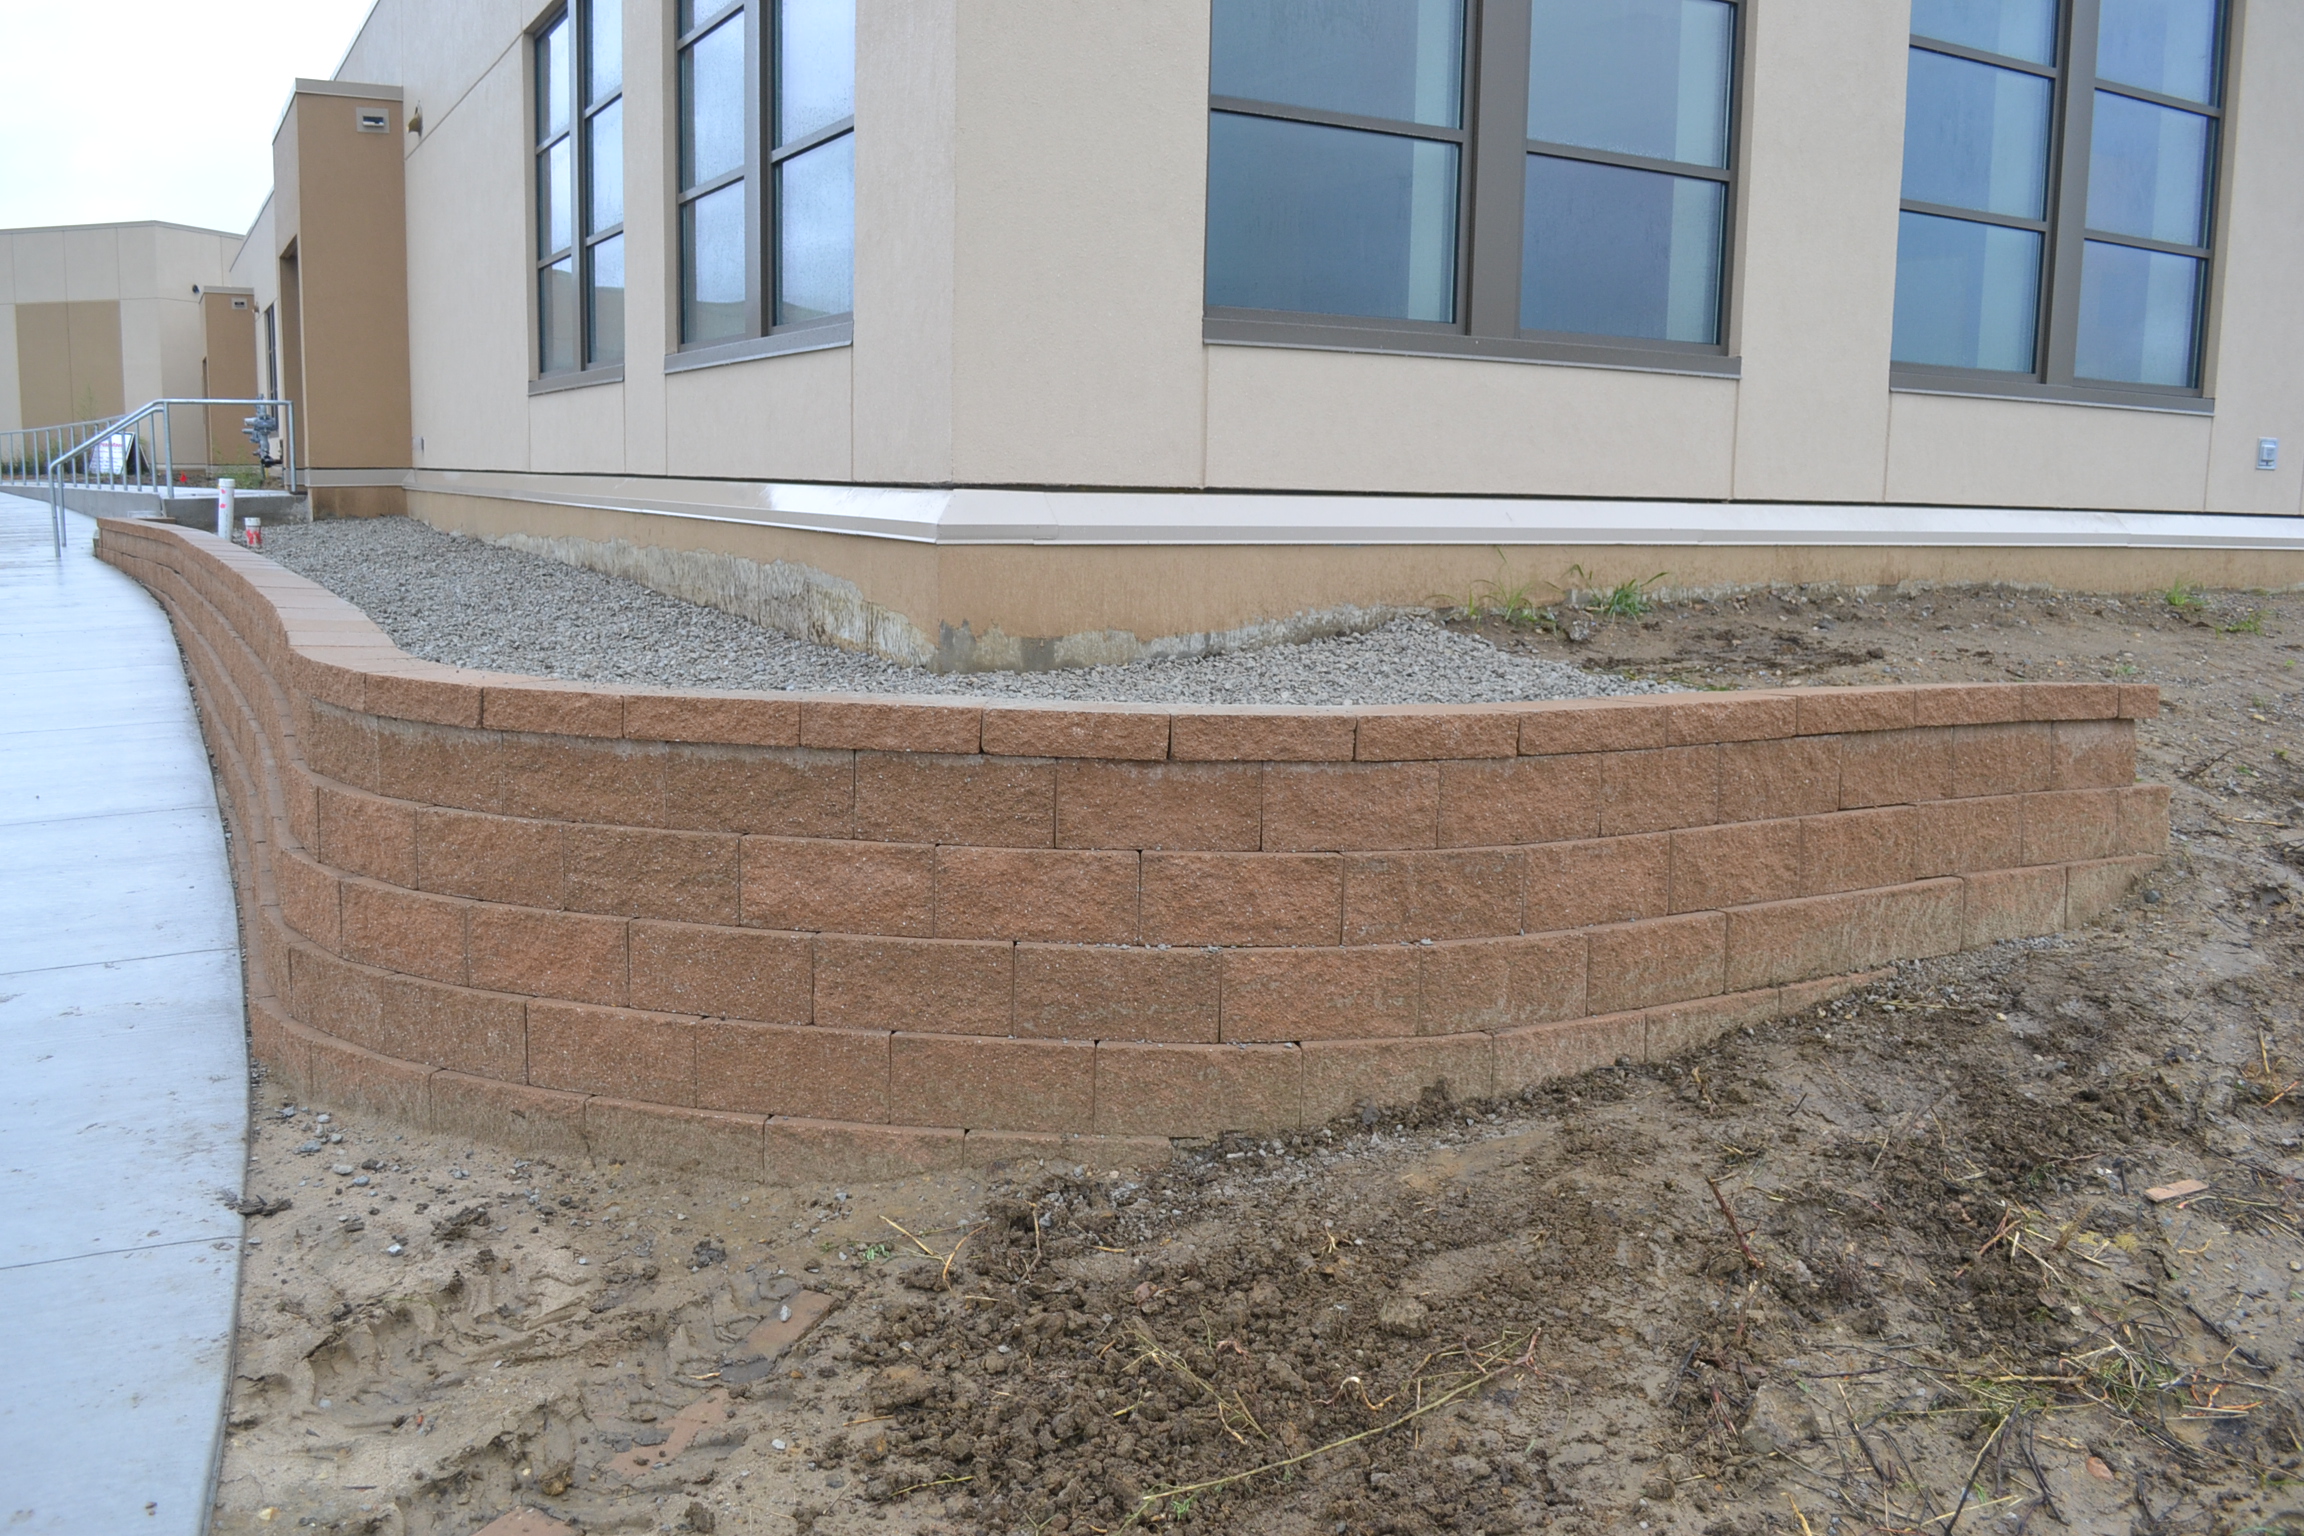
Installing retaining wall corners can be a little tricky if you are not familiar with constructing a retaining wall. Making sure that your wall and cap are installed right will not only give you a functioning wall, but will create a hardscape marvel. Installing retaining wall corners that are square requires the use of corner blocks. You can buy specialized corner retaining wall blocks and caps that have a two finished sides so that you can complete your corner. If you have a unique corner that is not 90 degrees, then you will have to create a custom block to finish the corner of the wall. The first way that you do this is score the angle on the block that you need with a chisel. You will need to set a new block on top of your first course. Where your block overhangs your previous course is where you want to make a score line. You want the score line to be right in line with the wall line. Once you have determined your block angle, now you can begin to chisel the perimeter of the block. Continue chiseling around the perimeter of your block until the unneeded piece breaks off. What you will be left with is a finished corner.
Installing retaining wall corners for curved walls.
Installing retaining wall corners on a curved wall can be some what tricky as well. Depending on the wall system that you are using whether it be King’s wall or Keystone retaining wall, there are tricks for proper installation for each wall. King’s wall comes in A and B blocks. King’s wall A blocks are rectangular and King’s wall B blocks have beveled backs. King’s wall B blocks are designed for installing retaining wall corners. You are able to move the backs of the blocks in to give your wall a sharper angle. Depending on how sharp of an angle you have, you may have to knock the bottom lip off of the blocks to get them in position. Keystone retaining wall blocks also have a tapered reverse which allows you to curve the blocks in. If your angle is still too sharp, you can always custom cut a side of the block off with a concrete saw.


