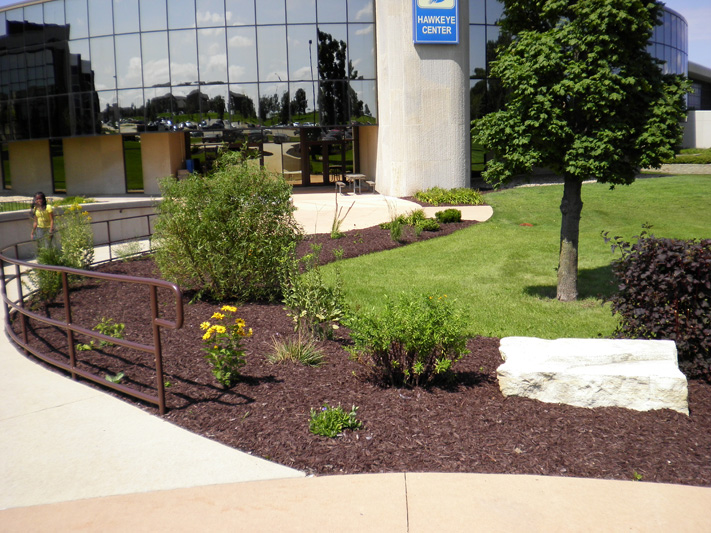
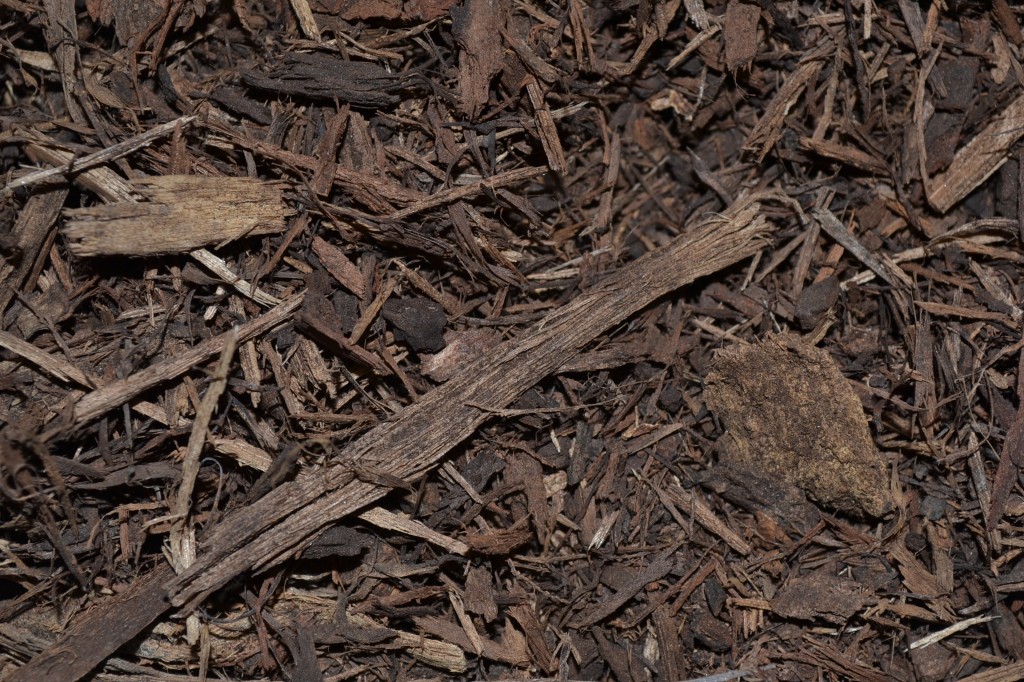
Installing fresh mulch in the spring is a great way to spruce up your landscape beds. If you use mulch as a ground cover, you should top-dress your beds once per season. Springtime works best because you can cover up all of the dirty mess left over by winter and give your landscape beds a fresh look. When installing fresh mulch, there are few things that you should address before the new mulch installation. If you are using a different color of mulch, you may have to remove some or all of the existing mulch. Trying to top-dress an existing mulch bed with a new mulch color will work fine at first, but leads to quite a few problems down the road. If the mulch bed is disturbed, you may end up with blended mulch. Doing this will create an unsightly appearance for your property. The same goes for topdressing rock with mulch. In the landscape world, that is a big mistake. One of the main benefits of putting down mulch is to create a natural weed barrier in your landscape. Part of the success of installing mulch instead of rock is that mulch naturally decomposes. The decomposition provides a natural barrier to help keep the weeds from growing in your landscape. Installing fresh mulch every year adds to this barrier and keeps the process continuing from year to year.
Installing fresh mulch made easy.
Below are a few tips that can help you keep your mulch beds looking their best when installing fresh mulch.
- Remove any old excess layers of mulch. This way you don’t have your mulch beds mounding up or spilling out of their areas.
- Install a granular pre-emergent barrier to your mulch beds before installing fresh mulch. A pre-emergent needs to be applied before the new mulch is installed to be effective.
- Install a healthy 2″ to 3″ layer of mulch over the soil areas. If you already have some old mulch present, add a 1″ top-dress to clean up the color of the mulch and freshen the bed up.
- Consider re-dying your mulch with a color additive if your mulch beds have lost their color and do not need topdressing.


