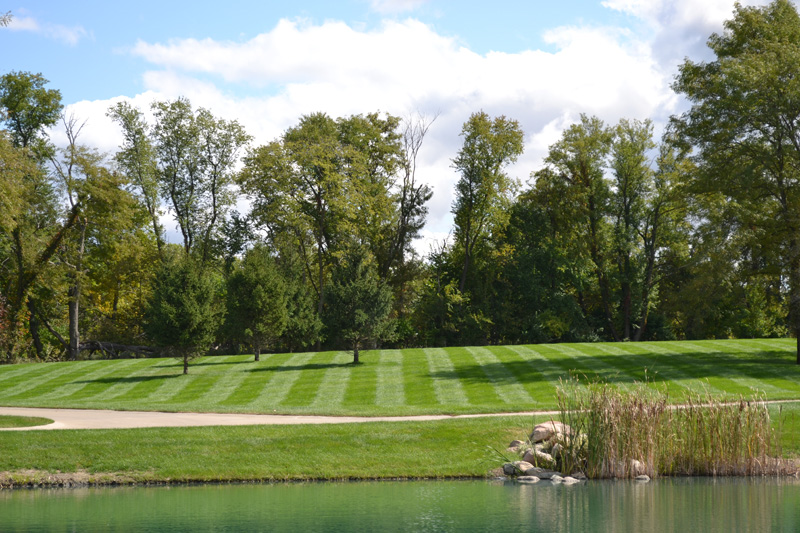
Lawn striping 101. Ever wonder how professional sports fields and professional lawn mowers get stripes in their lawns? It is not as hard as you might think. Lawn striping has a lot to do with the operator and type of equipment being used. Professional operators know how to tackle a mowing project from start to finish and make it look like a master piece.
Below, learn how to add stripes to your lawn.
- Make sure that your mower blades are sharp.
- Set the front of your mower deck slightly lower than the front of your deck.
- Add a rolling bar. An optional attachment is a rolling bar mounted on the back of your mower.
- Make sure that your mower deck is clean of all debris.
- Use your side discharge chute or bag. Do not mulch without your side discharge chute open as this can cause clumping.
- Make two to three perimeter passes around your property with your mower. (Make sure your chute faces in towards the lawn).
- Once you have made your perimeter passes, start mowing a straight line on one side of your property. (Look for an object to focus your line on, so that it is straight)
- Turn around and make your second mower pass parallel to your last pass. If your mower line needs to be corrected, now is the time to make your corrections.
- Once you have reached the end of your second mower line, double check to make sure that both lines are straight and parallel.
- Make sure that you only have a few inches overlap of your mower deck. Consistency is the key. You want to make sure that all of your mower lines are the same width.
- If you encounter an object such as a tree, make sure to mow a path around the object on the mower line before. This will give you the illusion that your line goes through the object.
- If you circle the object when you are mowing the line that goes through the object, you will mess up your other lines.
- Continue to mow back and forwarth until your lawn is mowed. Lawn striping will automatically occur if you follow the above instructions.

